
Last updated September 20, 2026
Full 25-point door and opener safety check with every visit - springs, cables, rollers, tracks, and your LiftMaster or Chamberlain opener included
You get a price before we start. It does not change when the truck arrives.
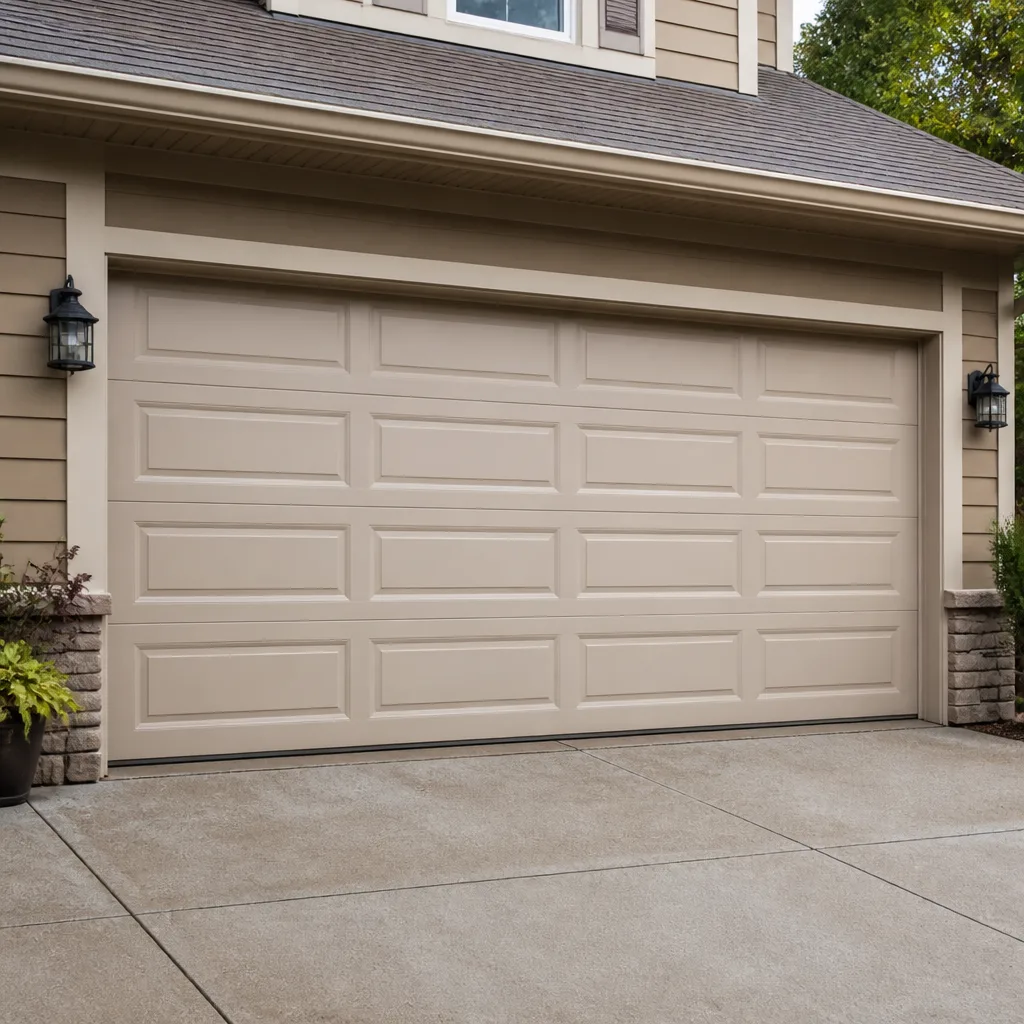
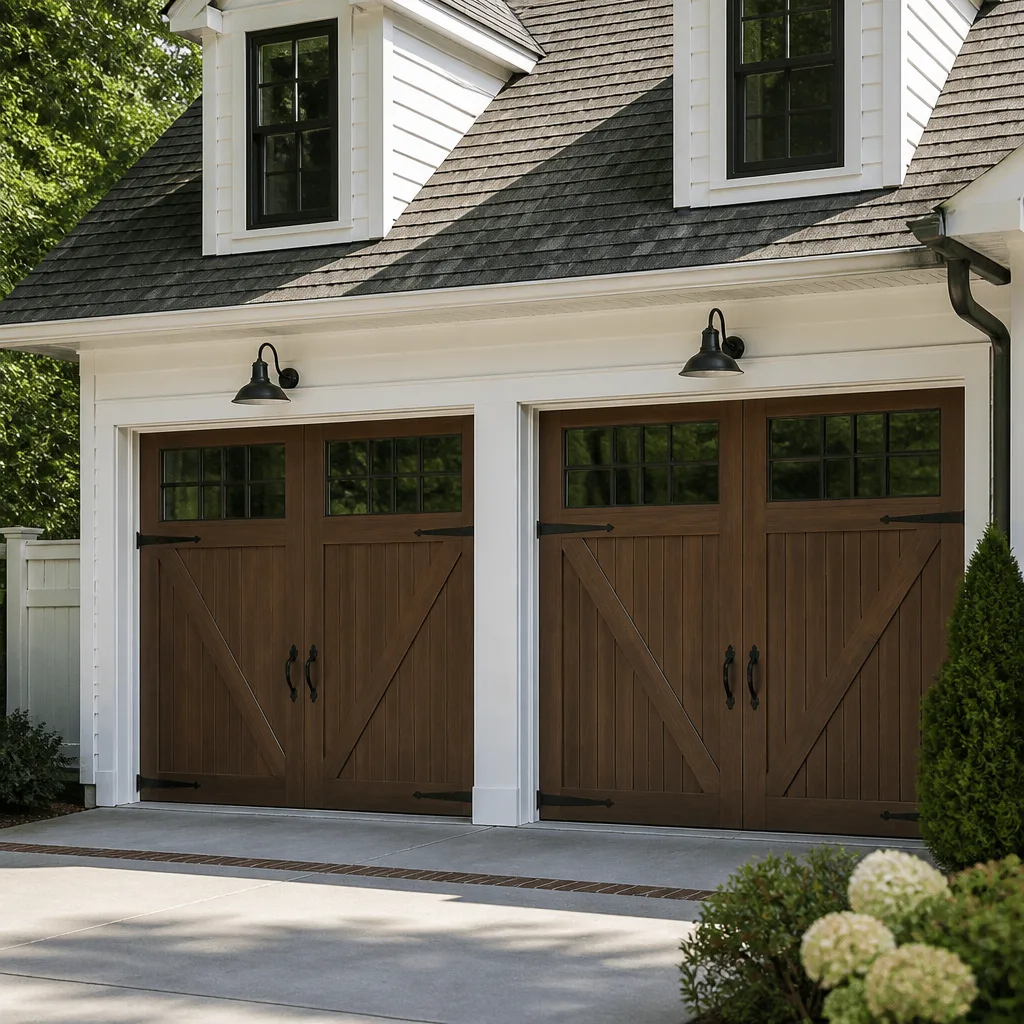
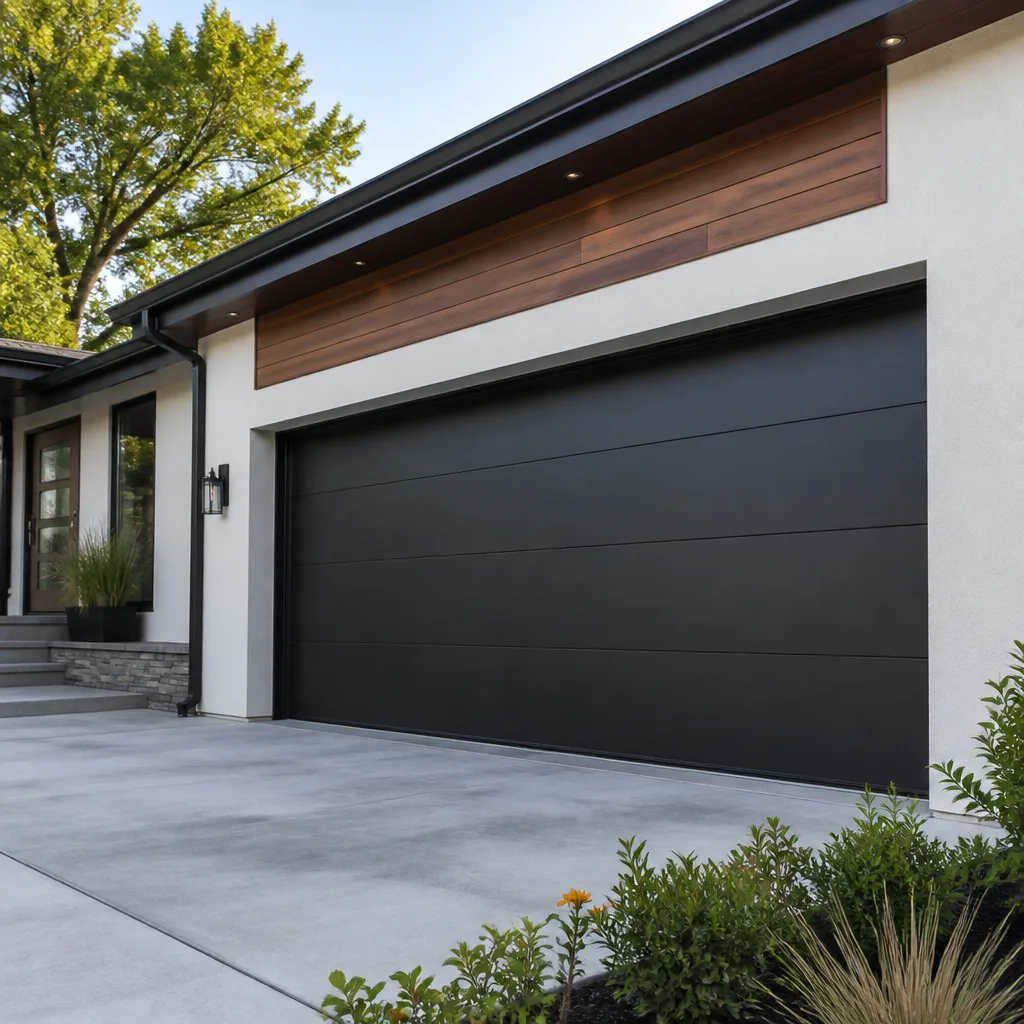
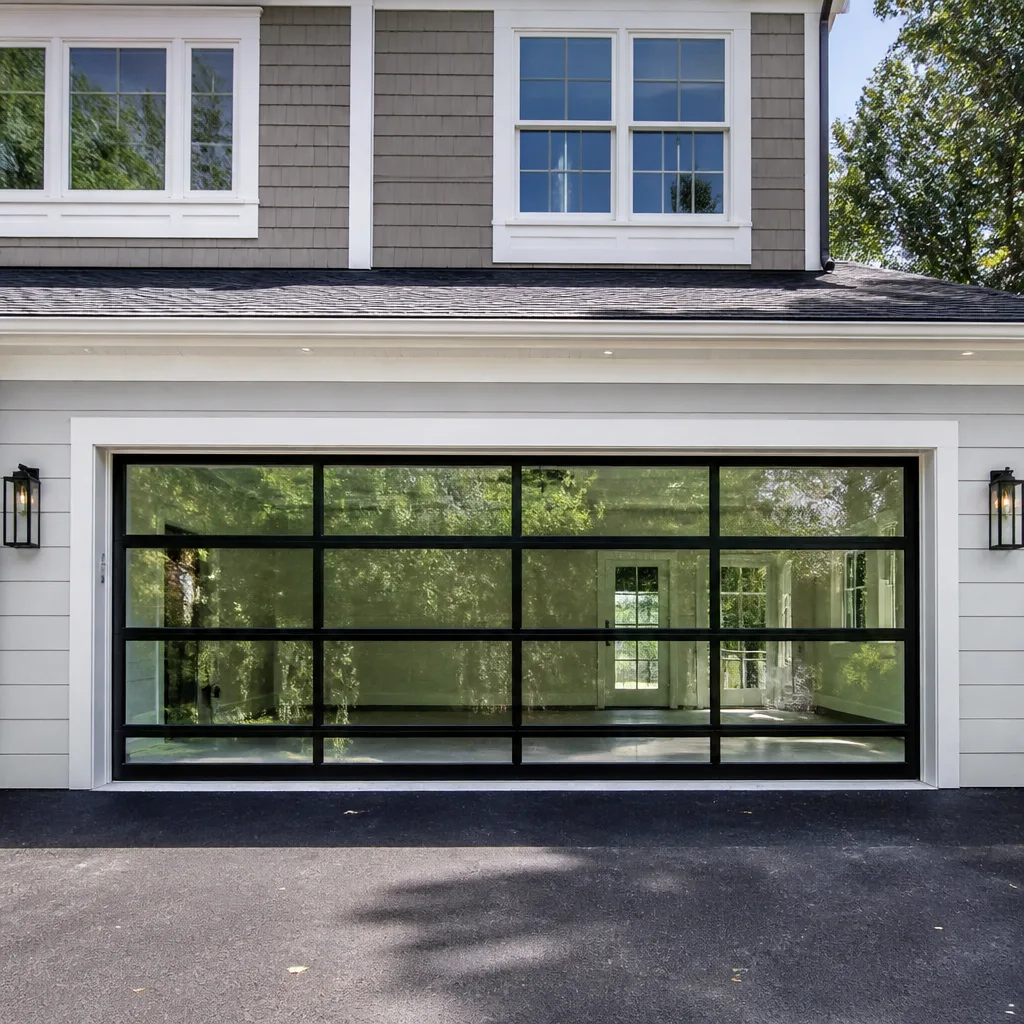
 Before
 After
After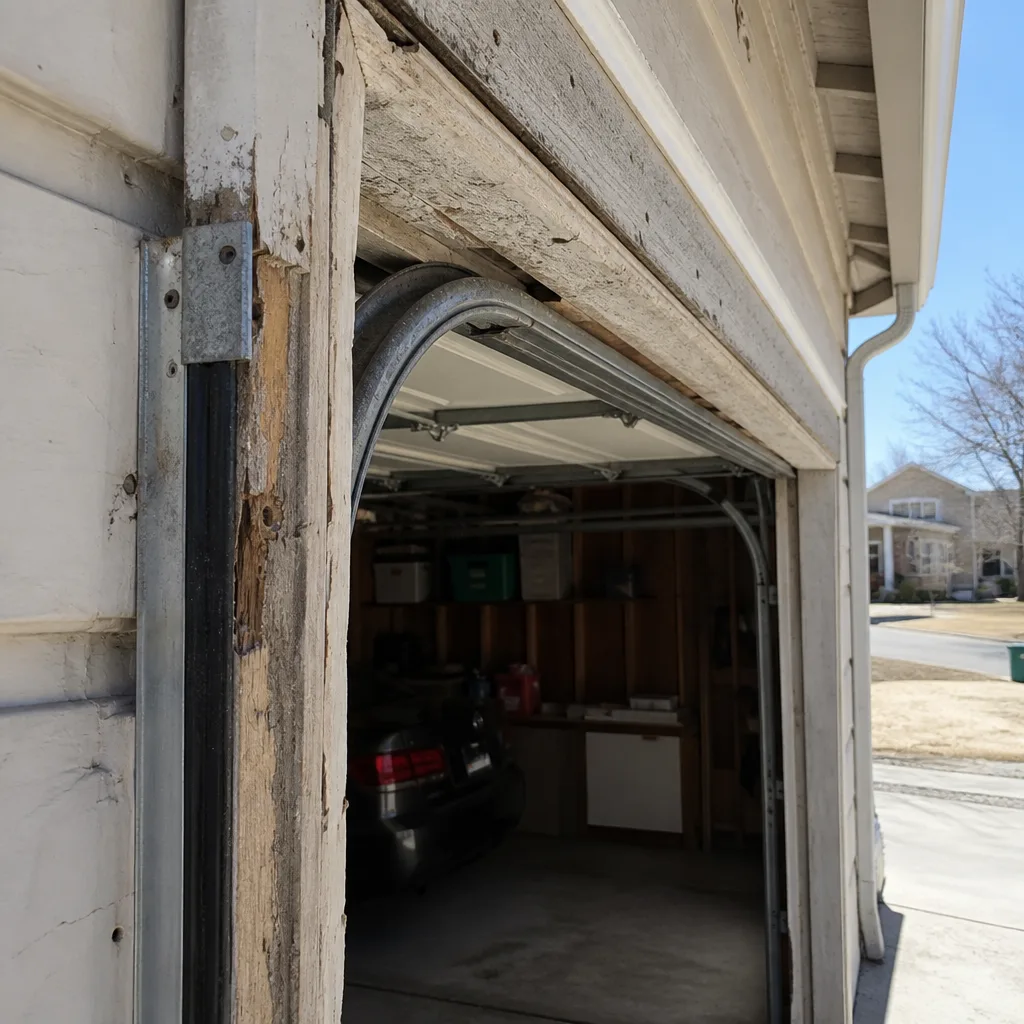 Before
 After
After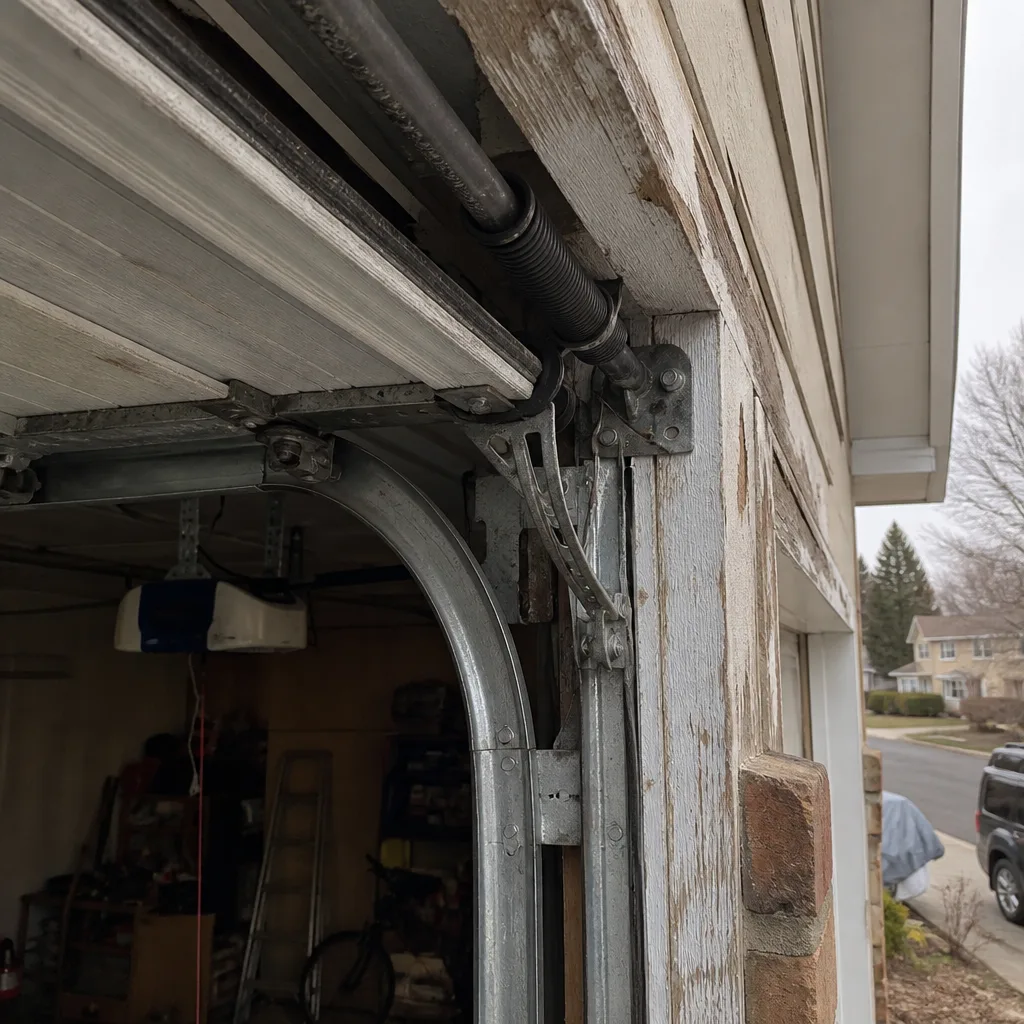 Before
 After
AfterGarage Door Repair Maintenance Checklist for Thornton Homeowners
Most garage door maintenance checklists you’ll find online were written for a national audience. They assume the air holds moisture, the temperature swings are mild, and the hardware degrades on a predictable 12-month cycle. None of that holds in Thornton. At 5,351 feet of elevation with single-digit winter humidity and summer sun that bakes the east-facing side of a house to 140 degrees on the panel surface, the lubricant in a standard garage door hinge degrades measurably faster than manufacturers test for. The spring that works fine in Houston loses fatigue life here because the coils expand and contract through wider daily temperature swings. This checklist is different. Instead of organizing maintenance by season, it follows the sequence in which garage door components actually fail in Thornton, so you catch the hinge before it takes out the roller, and the roller before it takes out the track. We’ve maintained and repaired garage doors in Thornton since 2015 as Servo Garage Doors Thornton home, and the order below reflects what we see in the field, not what a template says you should worry about.
Quick Answer
A garage door maintenance checklist for Thornton homeowners should follow the order in which components actually fail: hinges and rollers first, spring anchor plates second, bottom seal third, then cables, tracks, and the opener. Lubricate hinges and rollers every 4 to 6 months instead of the 12-month interval most national checklists recommend, because Thornton’s dry air and altitude evaporate and degrade lubricants faster. Perform a balance test and a door-reversal test every 3 months, and photograph the spring, anchor plate, and bottom seal annually to create a documented baseline before any Garage Door Repair services conversation begins.
Table of Contents
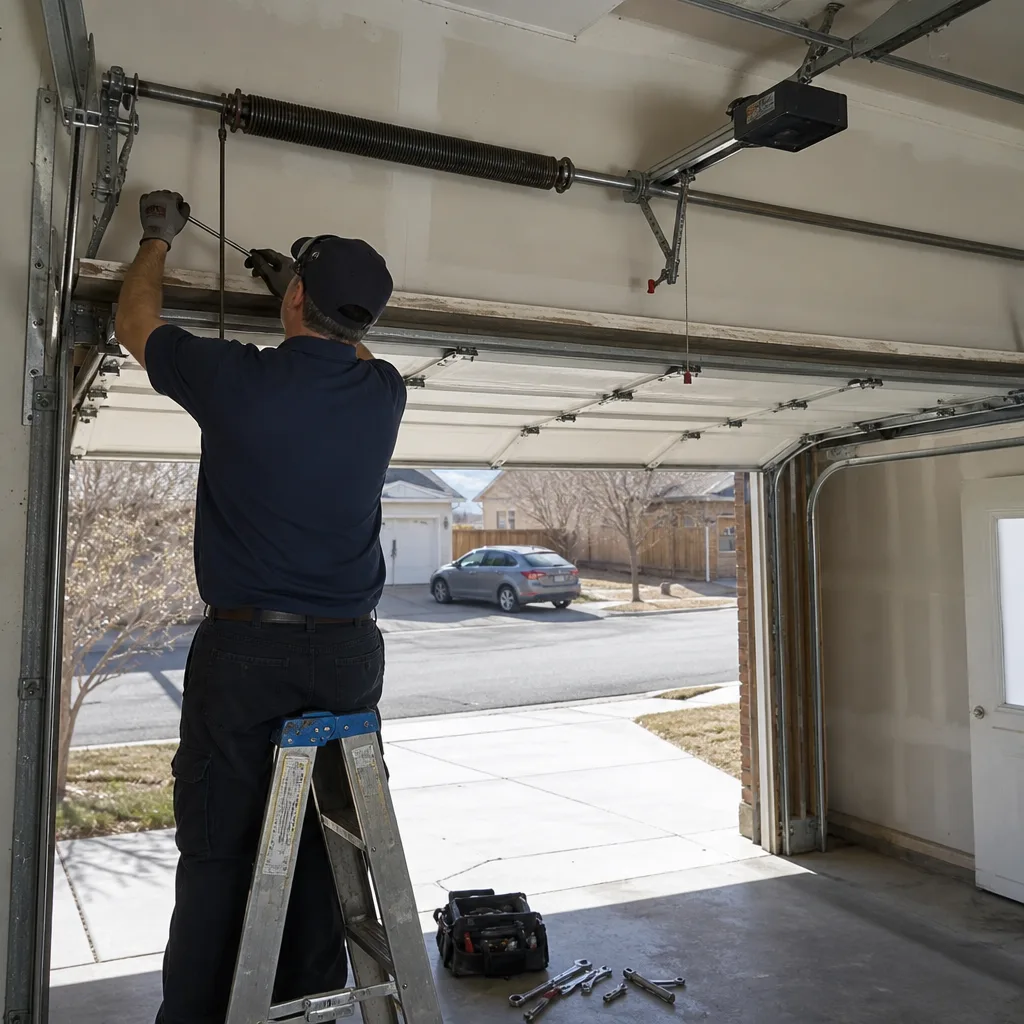
- 1. Hinges and Rollers: The First Components to Fail in Thornton
- 2. Spring Anchor Plates: The Cascade Point Most Checklists Miss
- 3. The Bottom Seal: Thornton’s Dust and Snow Melt Take a Toll
- 4. Balance Test and Door-Reversal Test: Pass/Fail Thresholds That Tell You When to Call
- 5. What to Photograph and Timestamp Annually Before Any Repair Conversation
- 6. Which Maintenance Tasks Void Manufacturer Warranties and Which Are Homeowner-Safe
- 7. Lubrication Intervals for Thornton’s Low-Humidity Environment
- 8. Cables, Tracks, and the Opener: What to Check After the Big Three
BeforeAfter1. Hinges and Rollers: The First Components to Fail in Thornton
In any garage door system, the hinge is the sacrificial component. It carries the full weight of the panel every time the door cycles, and it does so through a metal-on-metal pivot point that depends on a thin film of lubricant to prevent wear. When that film degrades, the hinge pin begins to wear the hinge barrel from the inside out. You won’t see the wear until the hinge is already loose enough to allow the panel to shift, and by then the roller has started running at a slight angle in the track. We’ve seen hinges in Thornton that looked fine from the outside but had measurable slop when we removed them. The fix costs more than the lubrication would have.
Here is the inspection sequence we recommend for hinges and rollers, in order:
- Visual hinge check: With the door closed, stand inside the garage and look at each hinge along the door’s edge. The hinge should sit flat against the door and the jamb. If you see a gap at the top or bottom of the hinge leaf, the hinge is bending. If the pin looks like it’s walking out of the barrel, the hinge has play.
- Listen for the click-and-grind: Operate the door manually (pull the red emergency release handle first) and listen as it moves through its full travel. A healthy hinge is silent. A worn hinge makes a metallic click at the transition point between panels, and a dry roller makes a grinding sound that changes pitch as the door moves.
- Roller wear check: Inspect each roller where it enters the track. The wheel should be round and centered on its stem. If the wheel is flat-spotted, the bearing inside has seized at some point and the wheel has been sliding instead of rolling. If the stem is loose in the hinge, the hinge has worn enough to allow the roller to wobble.
- Lubrication: Use a garage-door-specific lubricant, not WD-40, on the hinge pivot points and the roller bearings. Apply enough to coat the moving surfaces, but wipe away excess. In Thornton, we recommend doing this every 4 to 6 months, not annually.
If you catch hinge wear before it transfers to the roller and track, the repair is typically one hinge and thirty minutes of labor. If you miss it, you’re looking at a roller replacement, possible track repair, and a door that’s out of alignment. The reason this is step one in our checklist is that nearly every major garage door repair we do in Thornton traces back to a hinge or roller problem that started months earlier. For a deeper look at what to watch for, see our guide on Garage Door Warning Signs: A Thornton Homeowner’s Reference Guide.
2. Spring Anchor Plates: The Cascade Point Most Checklists Miss
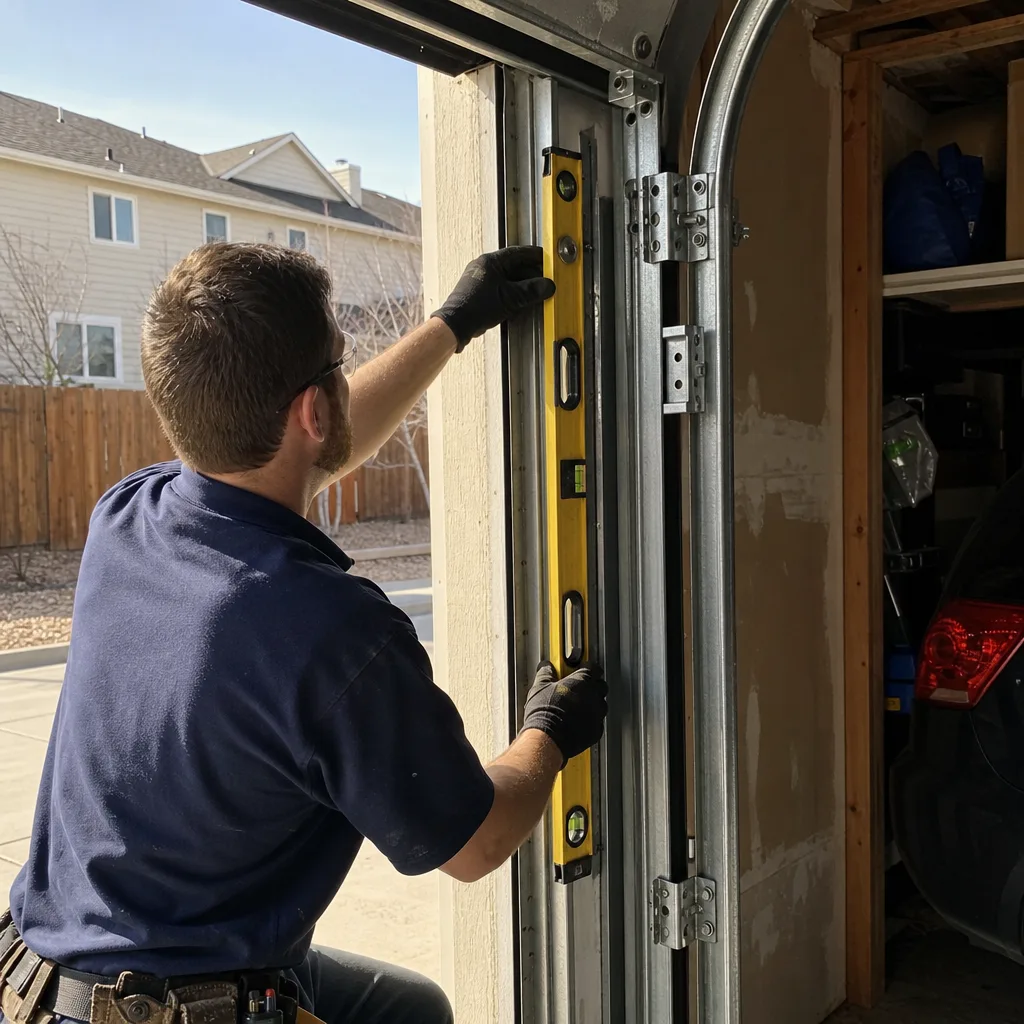
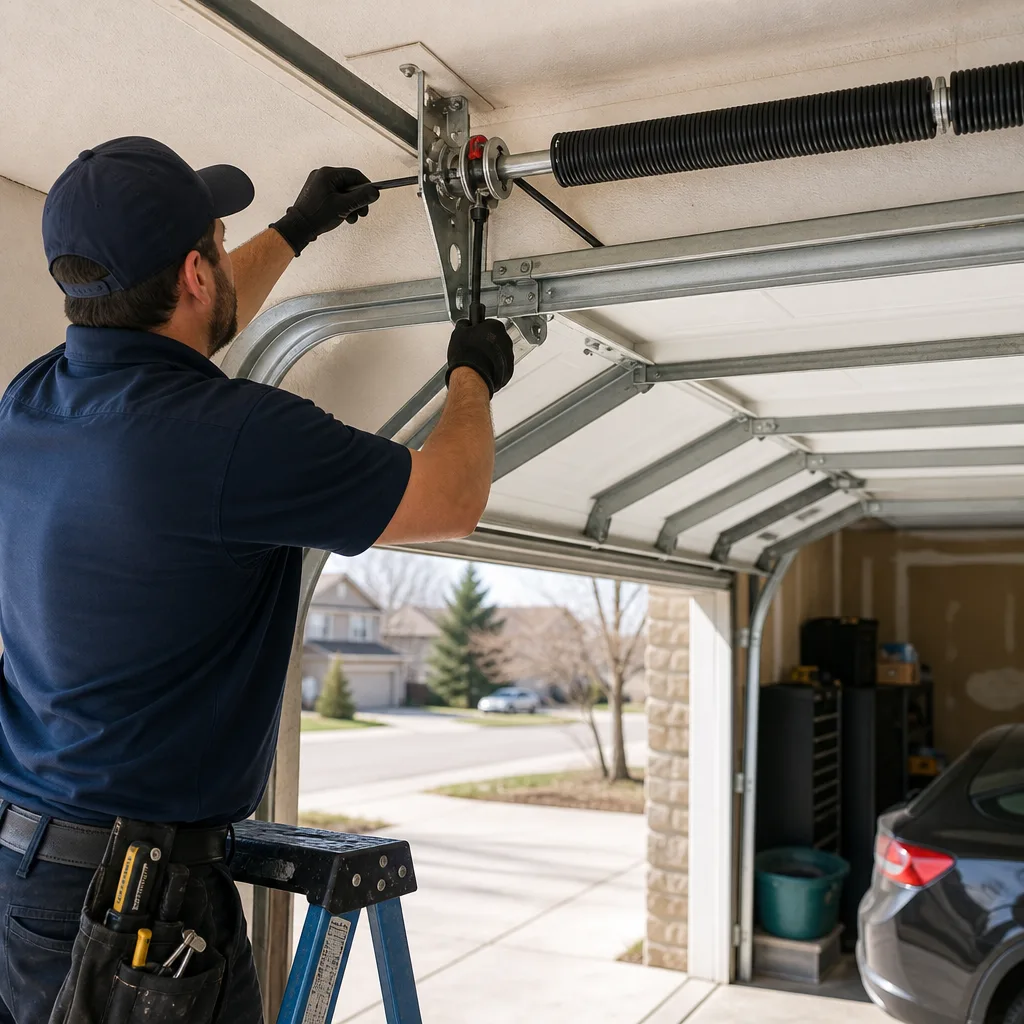
Most maintenance checklists cover springs, but they miss the component that fails just before the spring does: the anchor plate. The anchor plate is the steel bracket that mounts the torsion spring assembly to the header above the door. It carries the entire lifting force of the spring, and in Thornton it’s subjected to a particular stress pattern: the spring’s tension changes as the door opens and closes, which means the anchor plate flexes with every cycle. Over time, that flexing works on the mounting bolts, and the plate begins to pull away from the header.
We’ve seen anchor plates in Thornton homes where the bolts were still in place but the wood behind the plate was compressed and the entire assembly had started to sag. The homeowner thought the door was getting heavier. What was actually happening was that the spring was losing tension because the anchor plate was moving, and every additional cycle was putting more load on the other components.
What to check:
- Bolt tightness: With the door closed (the spring is under maximum tension when the door is closed), visually inspect where the anchor plate meets the header. The plate should sit flush. If you can see a gap, the wood is compressing and the plate needs attention. Do not attempt to tighten the bolts yourself - the spring is under tension, and a wrench slip here can cause serious injury.
- Plate deformation: Look at the plate itself. It should be straight. If it’s bowed, bent, or cracked, the spring’s mounting point is unstable and the spring is working against a failing structural component.
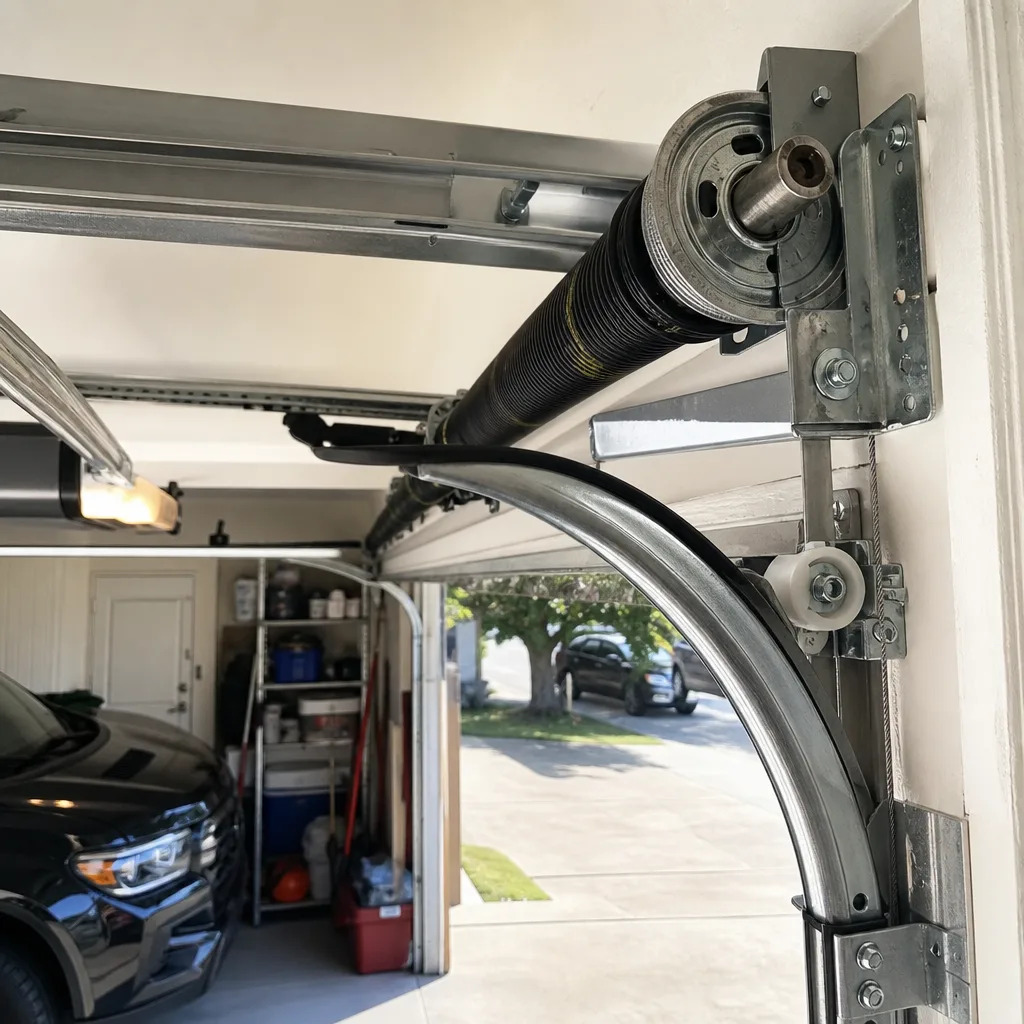
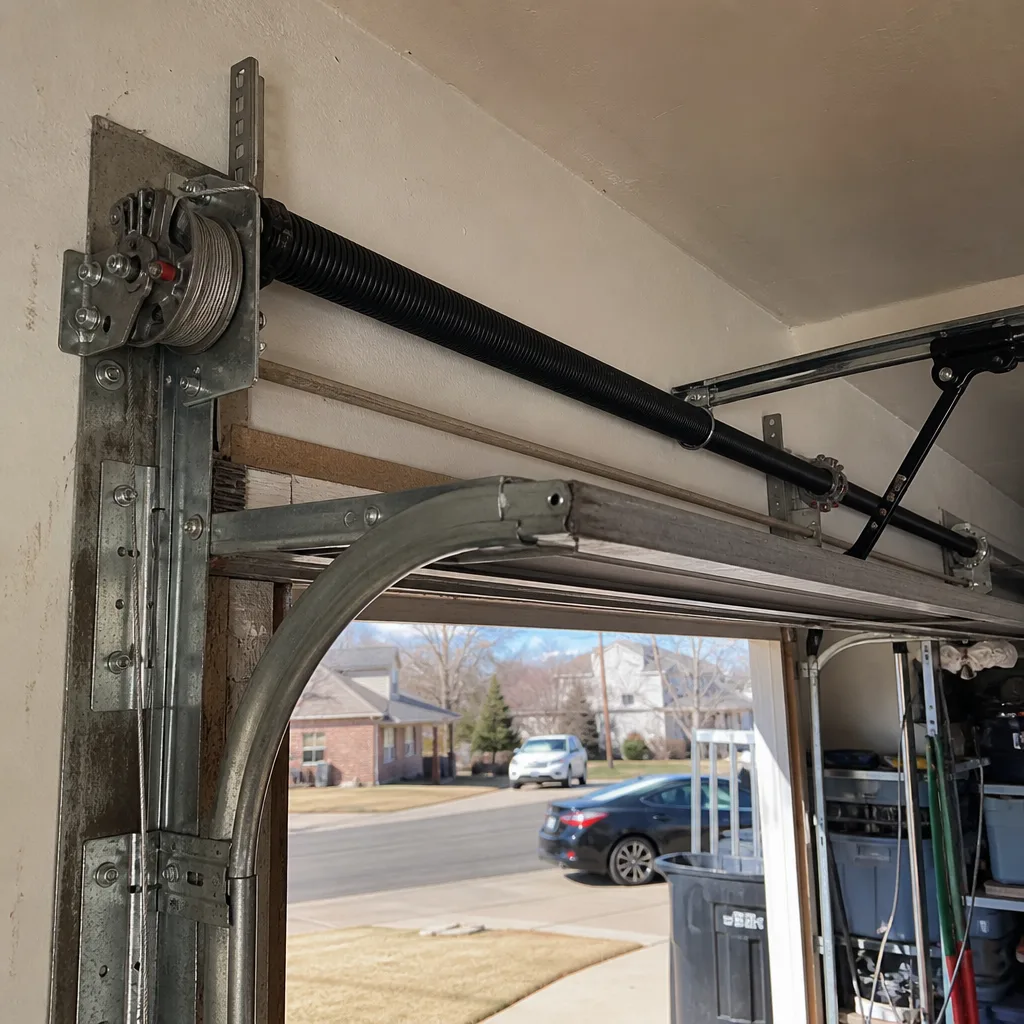
- Spring coil inspection: Visually inspect the torsion spring. The coils should be evenly spaced. If you see a gap between two adjacent coils, the spring has already started to fatigue and will break eventually. If you see rust on the spring, that’s a sign the spring’s protective coating has worn and the metal is oxidizing. In Thornton’s dry climate, rust is less common than in humid regions, but it still happens on older springs.
The anchor plate matters because it’s the difference between a $200 spring replacement and a $400 repair that includes re-mounting the assembly, repairing the header, and rebalancing the door. The Garage Door Repair in Thornton work we do most often starts with a failed spring, but the root cause is frequently an anchor plate that was never checked. Clause 4 of The Haven Standard is why a technician photographs the failed part before quoting a replacement - you deserve to see what we found, not hear a summary of it.
3. The Bottom Seal: Thornton’s Dust and Snow Melt Take a Toll
The bottom seal (also called the astragal or the weather seal) is the rubber strip that runs along the bottom edge of the garage door. Its job is to keep water, dust, rodents, and cold air out of the garage, and in Thornton it has a harder life than most homeowners realize. The seal is compressed every time the door closes, which means it’s constantly cold-formed against the garage floor. When the temperature drops below freezing overnight and then warms up during the day, the rubber goes through a freeze-thaw cycle that accelerates cracking and flattening. Add the fine dust and gravel that blows in from the Front Range, and the seal is grinding against sediment every time the door opens and closes.
A worn bottom seal shows up in ways that look unrelated to the garage door itself:
- Dust accumulation: If you see a line of dust or fine dirt on your garage floor running parallel to the door, the seal isn’t making full contact with the floor. That dust is coming in under the door.
- Water intrusion: During snowmelt, a failed seal lets water run under the door and pool on the garage floor. In Thornton, this is most common in February and March when the snowpack starts melting during the day and refreezing at night.
- Visible cracks or flattening: Look at the seal from inside the garage. It should be a rounded bulb shape that stands slightly proud of the door bottom. If it’s flat, cracked, or compressed down to a thin strip, it’s done.
- Light gaps: With the garage door closed during the day, turn off the garage lights and look for daylight coming in under the door. If you can see light, you have a gap.
Replacing a bottom seal is one of the few maintenance tasks that’s genuinely homeowner-safe if you follow the manufacturer’s instructions for your specific door model. The seal slides into a track on the bottom of the door, and most replacement seals are sold in standard lengths that get trimmed to fit. That said, if the door is more than a few years old and the track itself is bent or corroded, the seal won’t seat properly and the problem will return. In those cases, hiring a garage door contractor in Thornton is the better call.
4. Balance Test and Door-Reversal Test: Pass/Fail Thresholds That Tell You When to Call
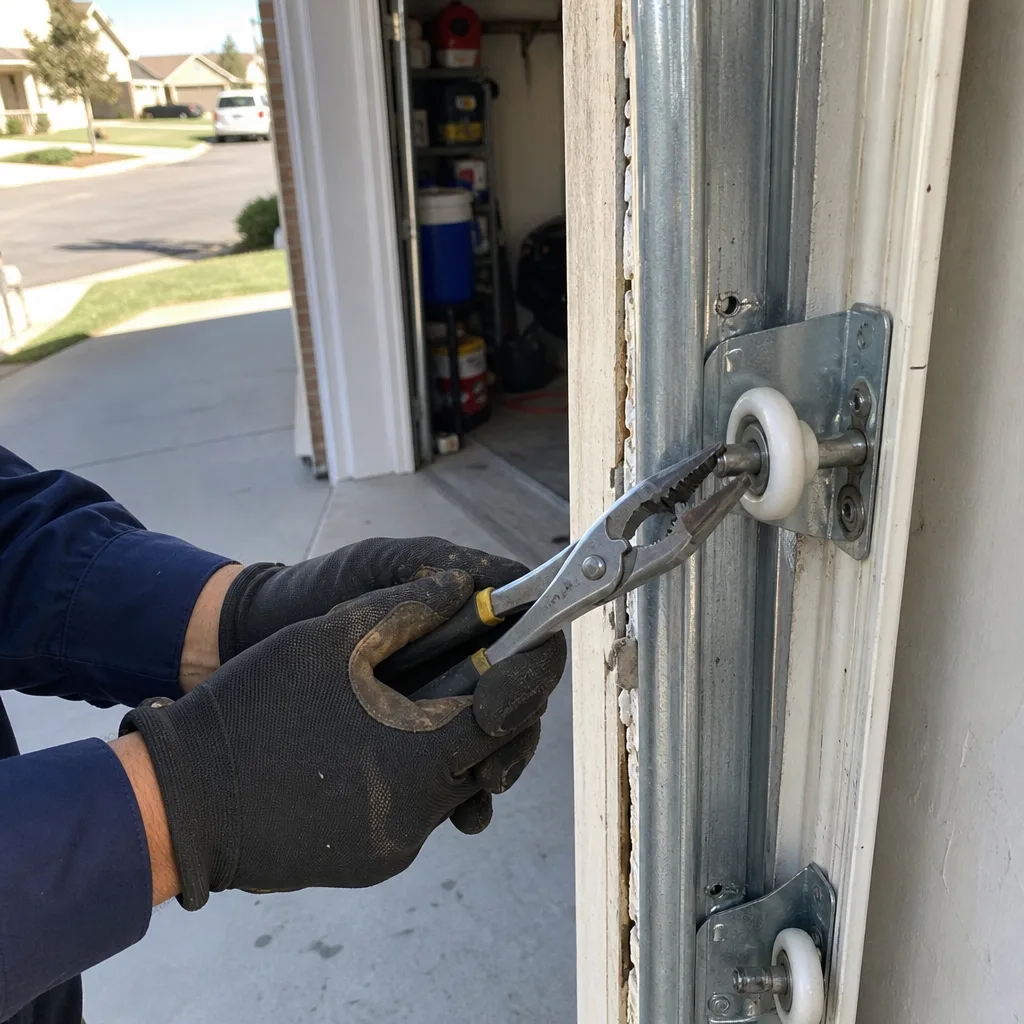
If you only do two things on this checklist, make it the balance test and the door-reversal test. They’re the two most informative checks you can perform without professional tools, and they both have clear pass/fail thresholds that tell you whether you can keep operating your door safely or whether it’s time to call someone.
The balance test determines whether your springs are doing their job. A properly balanced door will hold position when you release it halfway open. Here’s the procedure:
- Close the garage door completely.
- Pull the red emergency release handle to disengage the door from the opener. This puts the door in manual mode.
- Lift the door by hand to about waist height (roughly halfway up) and release it.
- Observe what happens: If the door stays put, the springs are balanced. If the door drops more than a few inches, the springs are weak and need replacement. If the door rises on its own, the springs are over-wound and need adjustment.
In Thornton, we see more weak springs than over-wound ones because the door’s cycle count adds up faster than homeowners realize. A typical garage door opens and closes 3 to 4 times a day. That’s 1,100 to 1,500 cycles a year. A standard torsion spring is rated for 10,000 cycles, which sounds like a lot until you do the math: that’s roughly 7 to 9 years of normal use. If you bought your house in 2018 and haven’t replaced the spring, you may be near the end of that spring’s fatigue life. This is one of the most important checks you can do, and it costs nothing.
The door-reversal test checks your opener’s safety features, which are required by federal law for any opener manufactured after 1991. Here’s the procedure:
- Place a 2×4 piece of wood (or a roll of paper towels, which is more available and works fine) flat on the floor in the center of the door opening.
- Close the door using the opener.
- Watch what happens when the door contacts the object: The door should reverse direction and return to the open position within 2 seconds of contact. If the door doesn’t reverse, or if it reverses slowly, the opener’s safety system has failed and needs repair.
If your door fails either test, do not continue using it. A door that fails the balance test puts excessive load on the opener and can cause premature motor failure. A door that fails the reversal test is a safety hazard, particularly if you have children or pets in the house. The reversal system is a gravity and pressure sensor that detects resistance, and a failed sensor means the door will continue closing on anything in its path. These are not theoretical problems; they’re the leading cause of garage door injuries.
5. What to Photograph and Timestamp Annually Before Any Repair Conversation
This section is the one most checklists leave out, and it’s the one that will save you the most money when something does fail. A garage door has a limited number of expensive components, and when one of them breaks, the repair conversation goes very differently if you have a documented record of what the component looked like when it was healthy. You don’t need to be an expert photographer, and you don’t need to know what you’re looking at. You just need a consistent record.
Photograph these three things once a year, on the same date if you can manage it:
- The torsion spring and anchor plate: Stand on a ladder (with the door closed) and take a clear photo of the spring assembly, including the anchor plate where it mounts to the header. The photo should show the spring’s coil spacing and the plate’s position. This establishes what your spring looked like before it broke, which matters because a broken spring can conceal earlier fatigue that a professional can identify from the photo.
- The bottom seal: Take a photo of the seal from inside the garage, showing the full width of the door bottom. This documents whether the seal was flat or round, cracked or intact, before you ever had a water or dust problem. When you do have a problem, the photo tells you whether the seal has degraded since your last check or whether the issue is new.
- The track alignment: Take a photo of the vertical track on both sides of the door, showing where the track meets the wall and where the door enters the track. Track alignment issues often show up first as a slight gap between the track and the wall, and having a baseline photo makes that movement visible.
Timestamp the photos and store them somewhere you’ll find them. When a spring breaks or a door starts binding, you’ll have a documented baseline that shows what the component looked like before the failure. This is the same principle we apply to our own work at Servo: every visit ends with a documented photo record of what we found and what we did, delivered to you. The founding rule of Servo in 2015 was that the customer sees the failed part before anyone quotes a replacement, and that rule still applies. Your own annual photos are the homeowner’s version of the same practice.
6. Which Maintenance Tasks Void Manufacturer Warranties and Which Are Homeowner-Safe
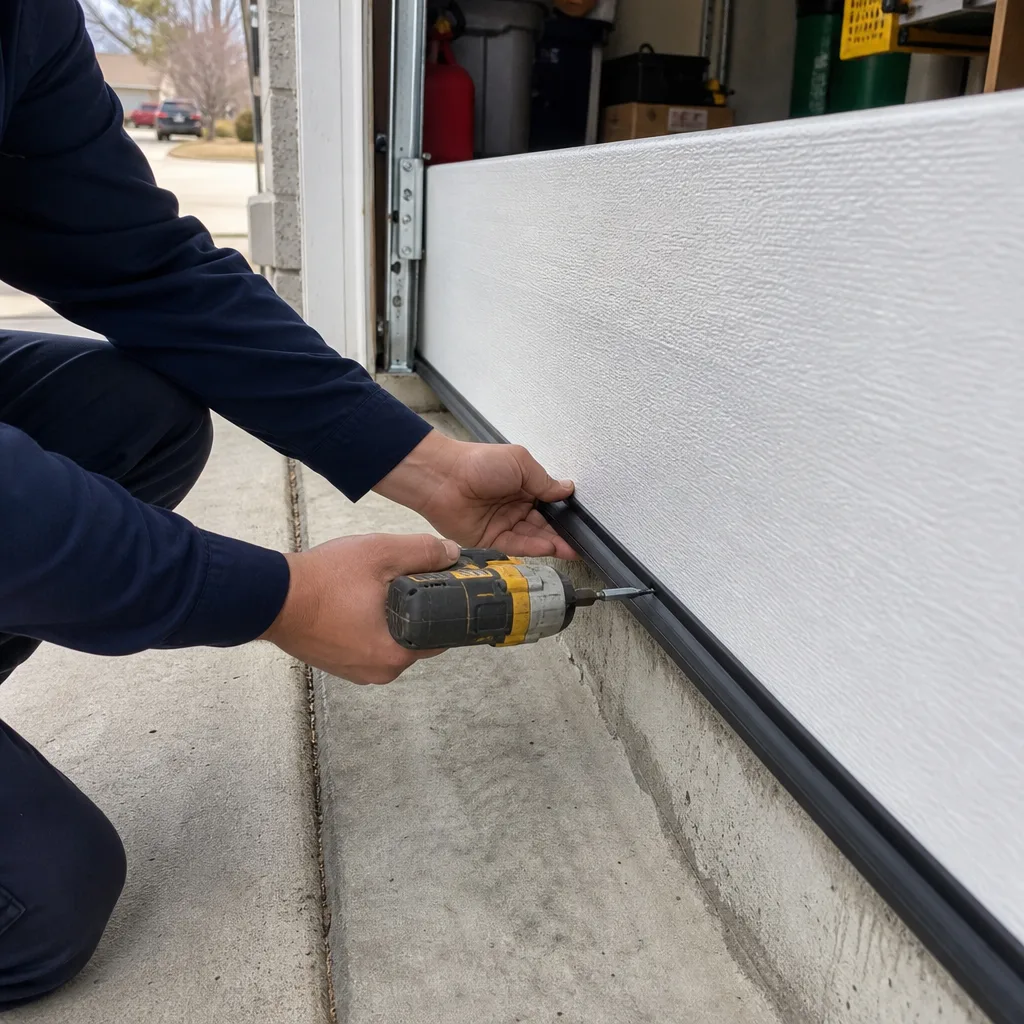
Garage door warranties are more specific than most homeowners realize, and the line between “maintenance” and “modification” is where problems start. Clopay, Amarr, and Wayne Dalton all publish warranty terms that exclude damage caused by “unauthorized service,” but what that phrase means in practice varies by component. Here’s the distinction that matters:
Homeowner-safe tasks (these won’t void your warranty and are reasonable to do yourself):
- Lubricating hinges, rollers, and the opener chain or belt, using the manufacturer-recommended lubricant.
- Cleaning the photo eye sensors with a dry cloth.
- Replacing the bottom seal, if the seal track is undamaged.
- Tightening loose bolts and screws on the door sections and hinges, using hand tools only.
- Performing the balance test and reversal test (these are inspection tasks, not modifications).
Tasks that can void your warranty (do not attempt these yourself):
- Adjusting, replacing, or adding tension to the torsion spring. Torsion springs are under high tension at all times, even when the door is closed, and a mistake here causes serious injury. Doing the work yourself also voids the spring warranty from the manufacturer because they have no way to verify the spring was adjusted to spec.
- Removing or welding any part of the track. Track modification is a permanent change to a safety-critical component, and manufacturers won’t cover a door that’s had its track altered.
- Replacing the opener logic board or motor without a licensed technician. These are electrical components, and the warranty on the opener typically requires service by a qualified installer.
- Replacing or modifying the cables. The cables work in concert with the springs, and an improper cable replacement can cause the door to fall.
If your door is still under warranty and you’re not sure whether a task is safe, the manufacturer’s website will have a maintenance section that lists what’s covered. We work on all eight major brands at Servo, including Clopay, Amarr, Wayne Dalton, and Craftsman, and we see the same pattern regularly: a homeowner did something that seemed minor (usually involving the spring) and is now facing a full door replacement because the warranty is void and the damage cascaded. The Havens Standard exists precisely because we don’t want Thornton homeowners making decisions about their garage door without knowing what leaving will look like: a flat, written price for the scope, before any work begins.
7. Lubrication Intervals for Thornton’s Low-Humidity Environment
Most maintenance guides recommend lubricating garage door components once a year. That interval is based on testing in a standardized environment that assumes moderate humidity, temperature variation, and operational cycles. Thornton is not that environment. The city sits at just over 5,000 feet of elevation with an average humidity around 30 to 40 percent, dropping to single digits during winter and early spring, and temperatures swing from below zero to above 90 degrees over the course of a year. Those conditions do two things to garage door lubricants:
- Evaporation: In low humidity, the lighter fractions of the lubricant evaporate faster. The lubricant thickens, loses its ability to coat the metal surfaces, and leaves behind a sticky residue that attracts dust.
- Thermal cycling: The lubricant expands and contracts with the ambient temperature. In a garage that goes from freezing at night to 60 degrees during the day, the lubricant is working through a full thermal cycle every single day. That’s 365 cycles a year, and each one stresses the lubricant’s film strength.
What this means in practice for Thornton homeowners:
- Lubricate hinges and roller bearings every 4 to 6 months. Ours is a tighter interval than the national recommendation, and it’s based on what we’ve seen in Thornton garages: lubricants applied 6 months ago are often already showing signs of breakdown.
- Use a garage-door-specific lubricant, not a general-purpose spray. A product like a lithium-based garage door lubricant is designed for the metal-on-metal contact in hinge pivots and roller bearings. WD-40 is a water displacer, not a lubricant, and it will strip the existing lubricant off the metal.
- Lubricate more frequently if your door faces west or east. A garage door that gets direct afternoon sun heats up dramatically, and that heat conducts into the hinges and rollers. The lubricant breaks down faster on sunny sides than on shaded ones.
- Don’t over-lubricate. More lubricant isn’t better. Excess lubricant drips onto the door and attracts dust, which turns into a grinding paste. Apply enough to coat the moving surfaces, then wipe away the excess.
If you’re unsure whether your door is properly lubricated, try this: operate the door manually and listen. A properly lubricated door should produce a smooth, low-pitched sound as it moves. A dry door produces a higher-pitched squeak or a grinding sound. The sound change is your signal that it’s time to re-lubricate.
8. Cables, Tracks, and the Opener: What to Check After the Big Three
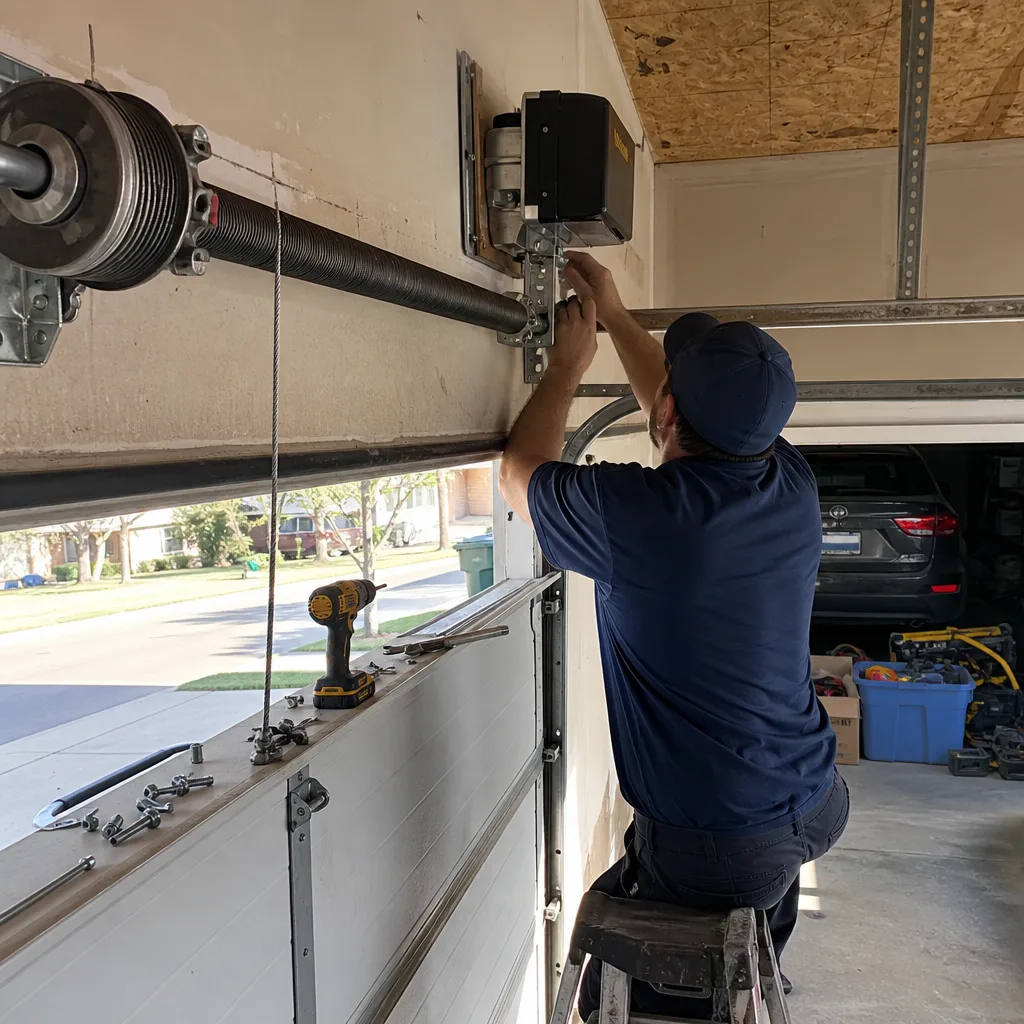
Once you’ve covered hinges, rollers, the anchor plate, the bottom seal, and the balance and reversal tests, the remaining components don’t need the same frequency of attention, but they shouldn’t be ignored. These are the parts that fail slowly and show warning signs long before they become problems. For more guides & resources on maintenance and repair, visit our blog.
Cables: The lift cables run from the bottom of the door up the sides and wrap around a drum at the top. They’re under tension whenever the door is open, and in Thornton they’re subject to the same thermal cycling as the springs. Check for fraying, which looks like tiny broken wires sticking out from the cable’s surface. A frayed cable is a cable that’s about to fail, and a failed cable lets the door drop. Do not attempt to replace a garage door cable yourself - the tension is high and the consequences of a mistake are severe. This is a professional job, period.
Tracks: The vertical and horizontal tracks guide the door as it opens and closes. Check that the tracks are securely mounted to the wall and that the door’s rollers stay fully inside the track throughout their travel. Look for gaps between the track and the wall, any bending or kinking in the track itself, and any roller that’s riding on the track’s edge instead of its center. A door that’s starting to bind in the track often makes a scraping sound that’s most noticeable when the door is halfway open.
The opener: Your garage door opener is a motor with a logic board, a chain or belt drive, and safety sensors. Check the opener monthly during your regular maintenance routine:
- Confirm the photo eye sensors are aligned (the indicator lights should be solid, not blinking).
- Listen for changes in the opener’s sound. A grinding or rattling sound often means the drive chain has stretched and needs adjustment.
- Test the auto-reverse feature using the door-reversal test in section 4.
- Check the opener’s mounting bracket where it attaches to the ceiling. The bracket carries the opener’s weight and the dynamic load of every door cycle.
If your opener is more than 10 years old and beginning to fail, a replacement opener typically costs less than repairing the old one. The new models are quieter, more efficient, and include battery backup for power outages, which is particularly useful in Thornton when a winter storm kills the power and the garage is the only way into the house. For opener-specific work, our Garage Door Opener Repair & Installation in Thornton page covers what’s included in a replacement and what the written price includes.
Common Mistakes to Avoid
- Lubricating on the national 12-month schedule instead of Thornton’s 4 to 6-month interval. The low humidity and altitude here degrade lubricant faster than the national testing environment, and waiting a year means your hinges are running dry for half that time.
- Using WD-40 instead of a garage-door-specific lubricant. WD-40 is a water displacer, not a lubricant. It strips existing lubricant and accelerates wear on hinge pins and roller bearings.
- Ignoring a door that’s slightly out of balance because “it still opens fine.” A door that drifts down from the halfway position is wearing out the opener, and the longer you wait, the more expensive the repair becomes. Your door may be fine today and fail without warning tomorrow.
- Replacing the bottom seal without checking the seal track first. If the track is bent or corroded, the new seal won’t seat properly and the problem will return. Spending a few minutes inspecting the track saves a second repair.
- Attempting to adjust or replace a torsion spring yourself. The spring is under high tension even when the door is closed, and a mistake causes serious injury. This is the single most dangerous DIY task in a garage, and it also voids the spring warranty.
- Skipping the annual photo baseline because “everything works.” The whole point of the baseline is to have a record of what worked before, so that when something fails, you can see what changed. It’s the cheapest insurance you’ll ever get.
- Ignoring a frayed cable because it’s “just a few strands.” A frayed cable is a failed cable waiting to happen. The strands you can see are the ones that have already broken; the ones you can’t see are about to.
When to Call a Professional
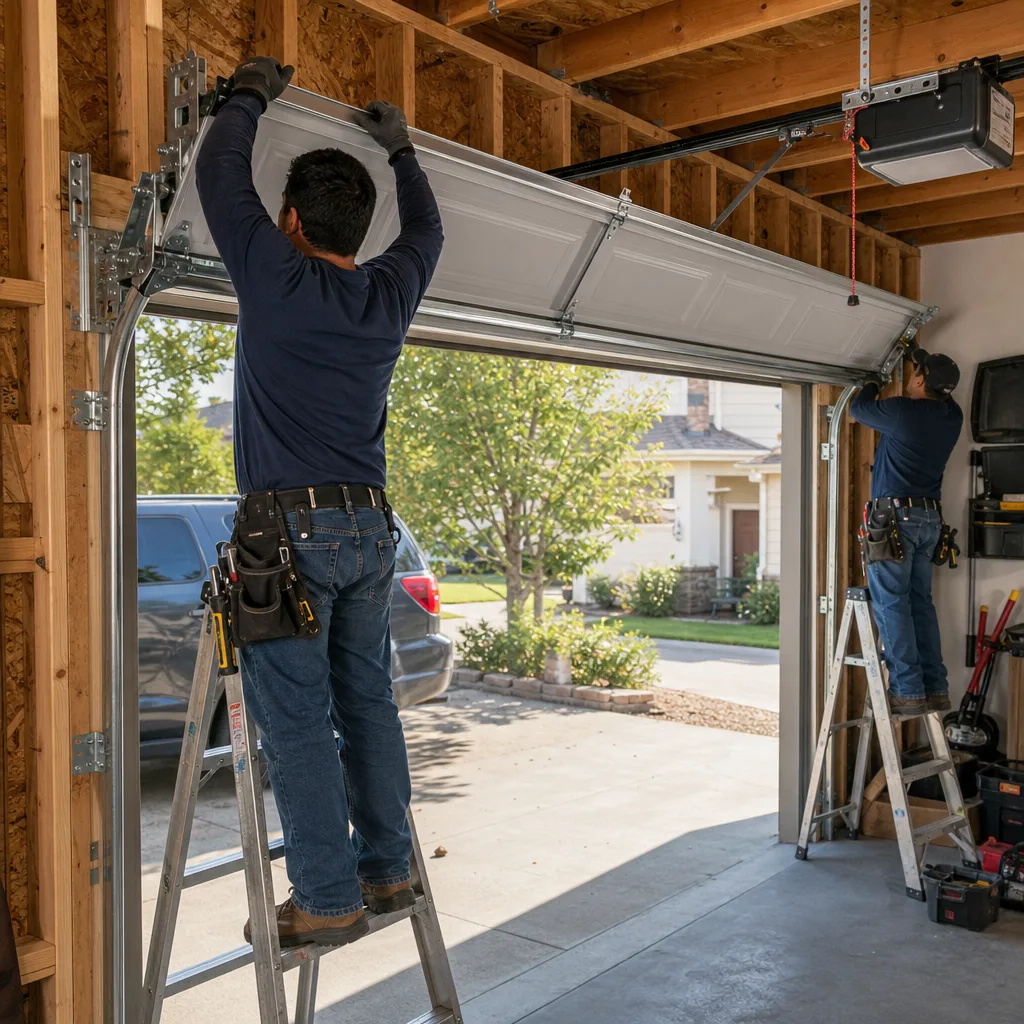
If your door fails the balance test, fails the door-reversal test, has a visibly frayed cable, or shows a gap between the anchor plate and the header, the time for DIY maintenance is over. These are the failure modes that lead to the most expensive repairs and the most serious injuries. A door that drifts down from the halfway position has weak springs, and springs don’t recover on their own. A door that doesn’t reverse when it hits an object is a safety hazard that’s illegal to ignore. And a garage door cable under tension is not a homeowner-safe project, no matter how many YouTube videos you’ve watched. In these cases, you need a professional with the correct tools, training, and experience. Garage Door Installation in Thornton work follows the same principle: a documented scope, written price, and photo record. Servo Garage Doors Thornton offers free estimates in Thornton - call (720) 575-1024 and you’ll get a real person on the line, not a callback window.
Frequently Asked Questions
Lubricate your garage door hinges and rollers every 4 to 6 months in Thornton, not the 12-month interval most national checklists recommend. Thornton’s altitude and single-digit winter humidity cause lubricants to evaporate and degrade faster than in moderate climates. Use a garage-door-specific lubricant, not WD-40, and apply it to the hinge pivot points and roller bearings.
The most common garage door repair in Thornton is a broken torsion spring, typically caused by metal fatigue after 7 to 9 years of normal use. The repair typically costs between $180 and $340 for the spring and labor, depending on the spring size and door weight. If you want an exact written price before any work begins, call Servo Garage Doors Thornton at (720) 575-1024 - that’s Clause 1 of The Haven Standard, and it’s not optional.
No, you should not replace a garage door spring yourself. Torsion springs are under high tension even when the door is closed, and a mistake can cause serious injury or death. Attempting the repair yourself also voids the spring manufacturer’s warranty. Call a professional who carries the correct spring on the truck and replaces it safely.
Close the door, pull the red emergency release handle to disengage the opener, lift the door by hand to waist height, and release it. If the door stays in place, the springs are balanced. If the door drops, the springs are weak and need replacement. If the door rises, the springs are over-wound and need adjustment.
Yes, Servo services all eight major garage door brands, including LiftMaster, Chamberlain, Genie, Clopay, Amarr, Wayne Dalton, Craftsman, and Raynor. Every job is quoted with a flat, written price before any work begins, and you receive a documented photo record of what was found and what was done.
The Haven Standard is the documented, written-price-first system that Servo Garage Doors Thornton operates under. Clause 1 requires a flat, written price and written scope before any work starts. Clause 4 requires the technician to photograph the failed component before quoting a replacement. The 365-Day Done Right Promise means that if a repair isn’t right, Servo makes it right - no handshake required.
The Bottom Line
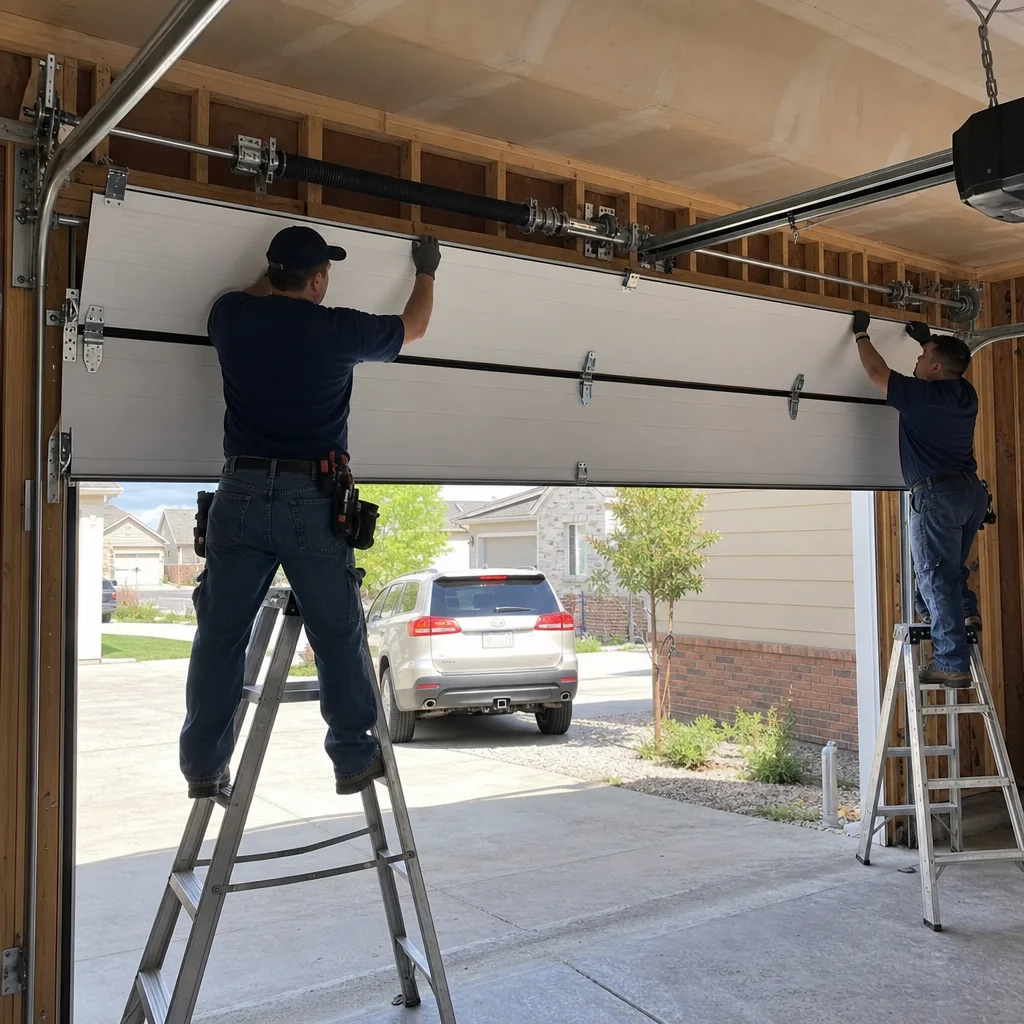
The maintenance sequence that works for a garage door in Thornton is not the one you’ll find in a generic checklist. Hinges and rollers wear out first because the dry air and altitude degrade lubricants faster than the national average. The spring anchor plate is the next failure point because it flexes with every cycle and the wood behind it compresses over time. The bottom seal takes a beating from dust and freeze-thaw cycles. If you follow this sequence, check the balance and reversal tests every 3 months, photograph the spring, seal, and track annually, and know which tasks are safe versus which void your warranty, you’ll catch most problems before they cascade into expensive repairs. And for anything beyond the homeowner-safe list, Servo Garage Doors Thornton home answers every call with a written price before work starts and a photo record when the job is done. Call (720) 575-1024 for a free estimate on any garage door issue in Thornton.
Written by Marcus Deller, Owner at Servo Garage Doors Thornton, serving Thornton since 2015.