
Full 25-point door and opener safety check with every visit - springs, cables, rollers, tracks, and your LiftMaster or Chamberlain opener included
You get a price before we start. It does not change when the truck arrives.
 Before
 After
After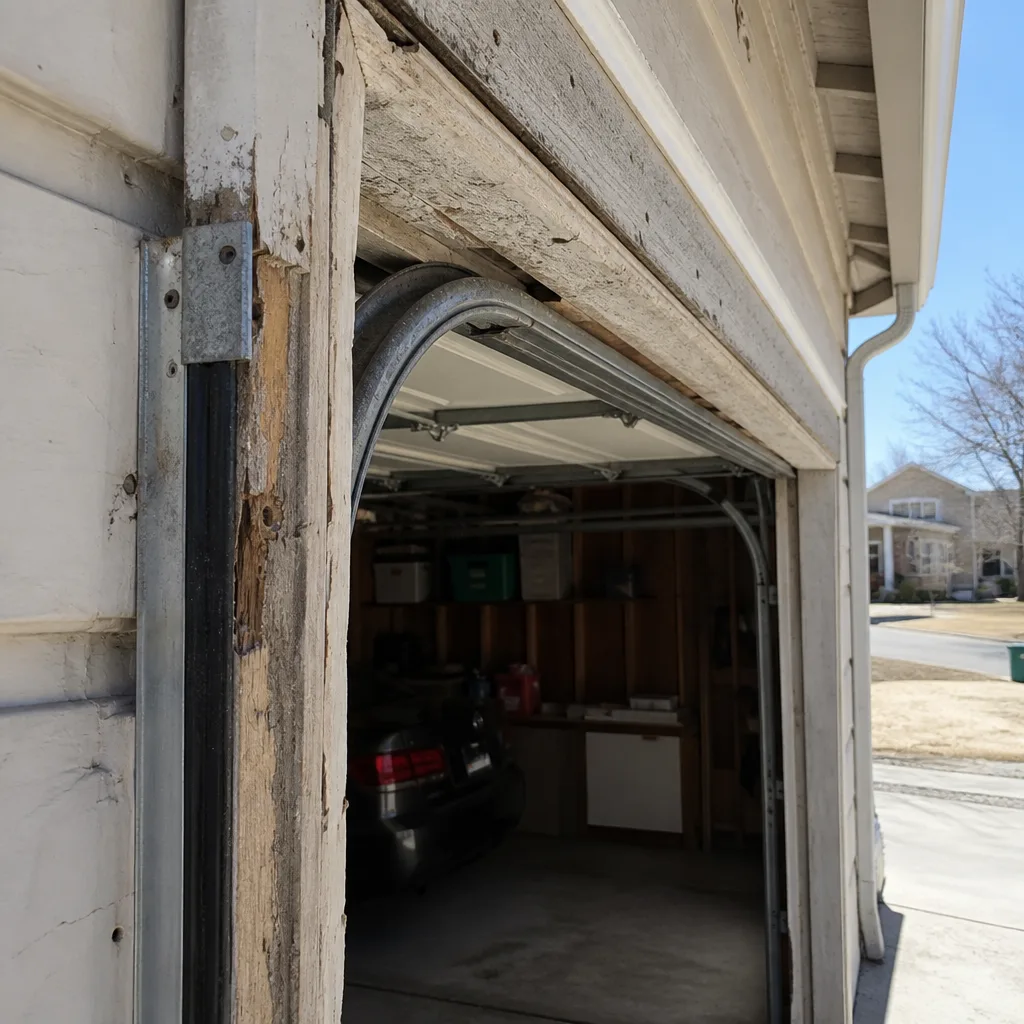 Before
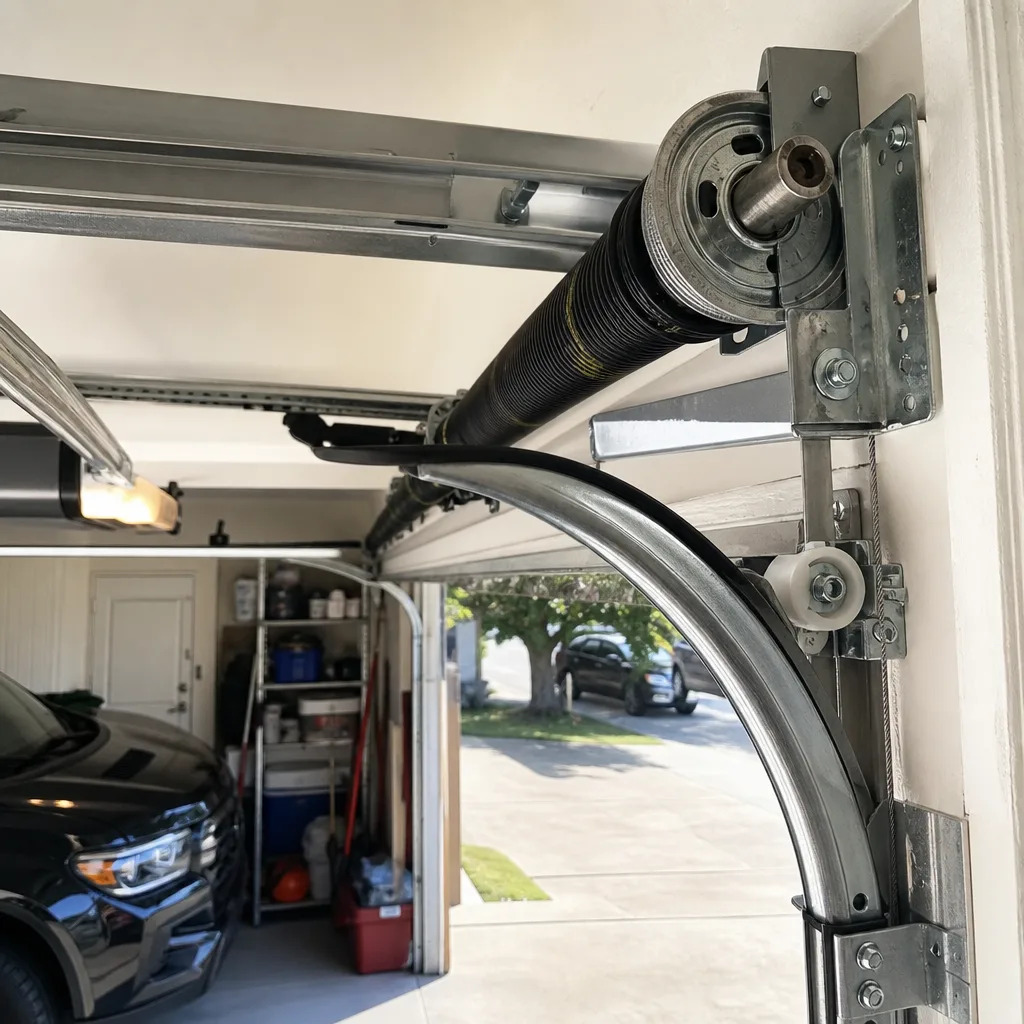 After
After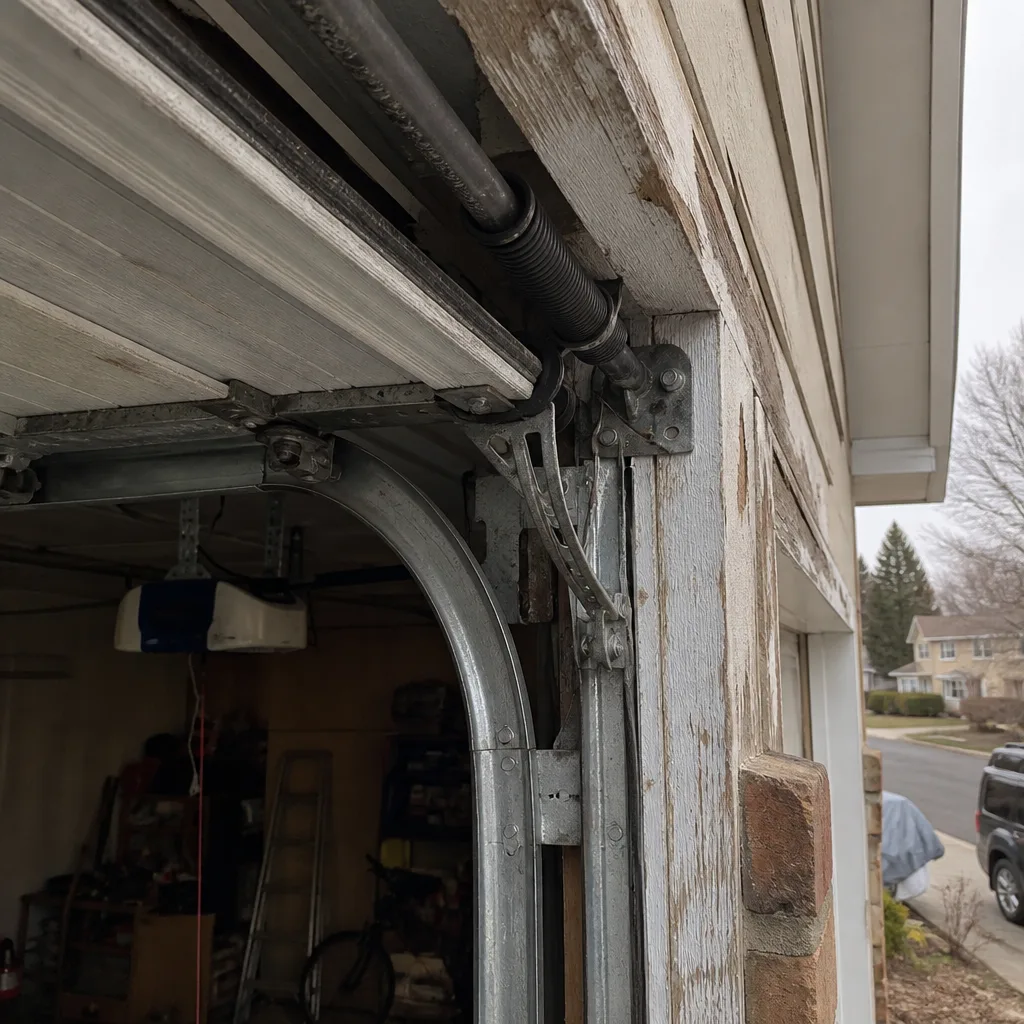 Before
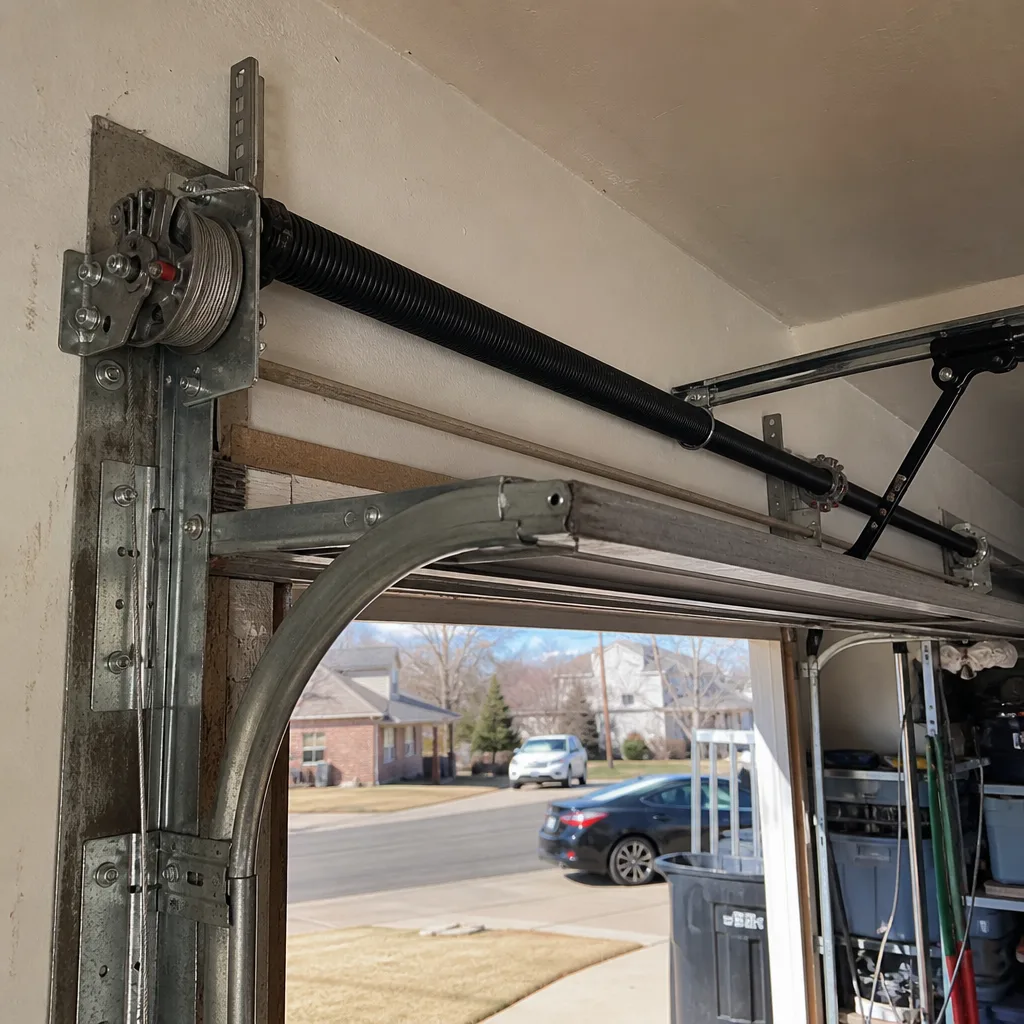 After
AfterLiftMaster Opener Logic Board Repair: The Thornton Owner’s Guide
LiftMaster opener logic board repair in Thornton typically runs $120-$320 installed, and we stock compatible boards on the truck for most models made after 2011. The logic board is the printed circuit panel inside the opener’s plastic housing, the component that receives the signal from your remote or wall button and tells the motor to run. Most Thornton homeowners discover a failed board the same way: the opener stops responding to every remote at once, but the wall button still works, or the lights flicker and the unit hums instead of moving the door. That pattern points to the board, not the remote, not the motor, and not the safety sensors.
Marcus Deller has replaced enough of these in Thornton to recognize the failure pattern before the housing comes off. The job usually takes under an hour.
Which LiftMaster Models This Applies To
We see failed logic boards most often in the LiftMaster Professional line (models like 41A5021 series boards), the Security+ 2.0 openers built after 2011, and the belt-driven Elite series. The compatibility gotcha most owners don’t know is this: a LiftMaster board is not interchangeable across generations just because the opener looks the same from the outside. A Security+ board from a 2013 opener will not accept the rolling-code signal from a 2019 Security+ 2.0 remote, even if both are Chamberlain-family products. The board’s model number is printed on a small white label on the circuit board itself, and matching that number is the only reliable way to confirm fitment.
On the OEM-versus-aftermarket question, LiftMaster is one brand where we default to OEM boards when available. Aftermarket logic boards exist, but LiftMaster’s rolling-code encryption and the two-wire communication between board and motor make cheaper knockoffs a coin flip on reliability. We’ll quote OEM first, and if a quality aftermarket equivalent is what the budget calls for, we say so in the written scope before ordering anything.
Signs Your LiftMaster Opener Logic Board Is Failing
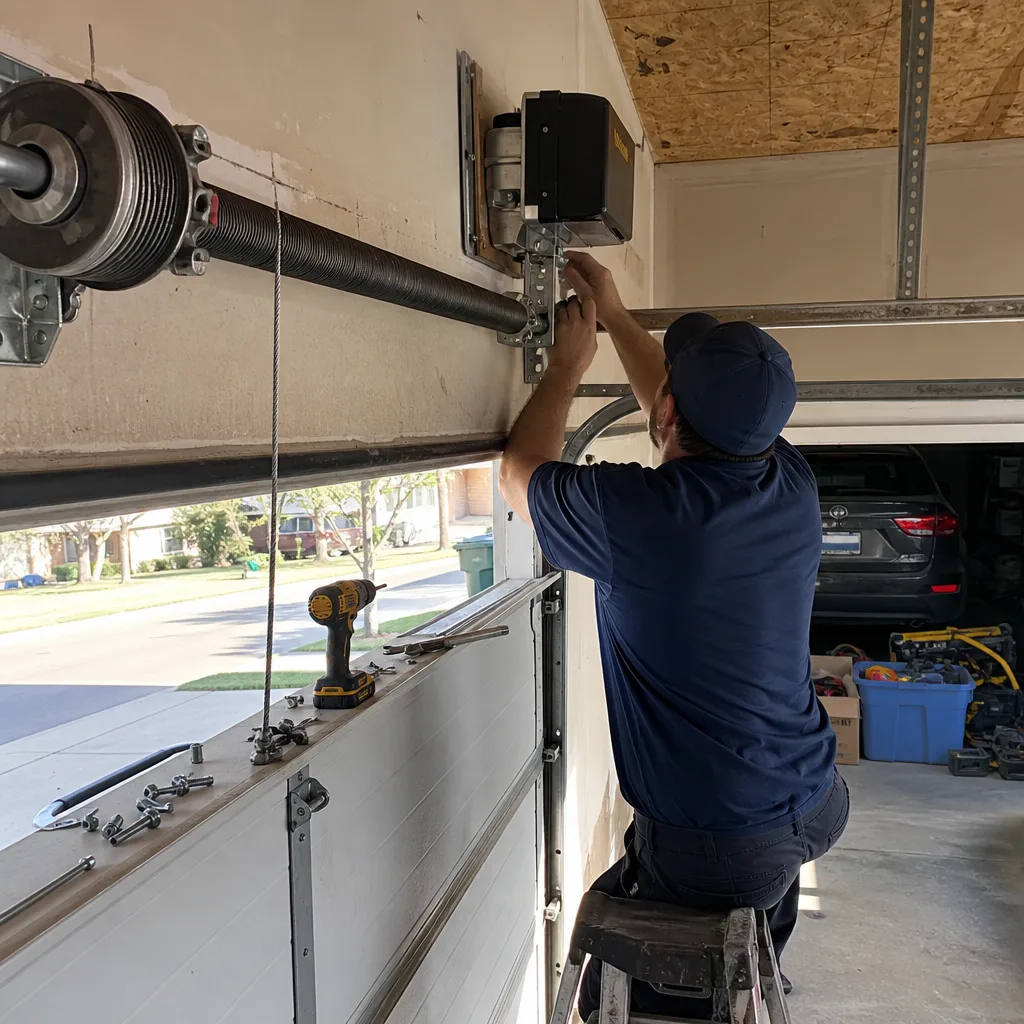
- The wall button works, but every remote has stopped. The wall console is hardwired to the opener, so it bypasses the board’s receiver circuit entirely. When remotes fail across the board and the wall button still opens the door, the failure is almost always on the logic board’s receiving side.
- The opener runs, but only sometimes. Intermittent function is a hallmark of a failing solder joint or a capacitor degrading on the board. Heat makes it worse, and Thornton summer days inside an uninsulated garage ceiling routinely hit 110°F, which accelerates the failure cycle.
- The opener light flickers or the unit clicks without moving. The board controls relay switching for both the light circuit and the motor. A relay that engages but doesn’t pass current produces exactly this pattern: sound, no motion.
- Remotes lost their programming overnight. LiftMaster boards store rolling-code memory on the board itself. When that memory resets spontaneously, the board’s non-volatile storage is failing, not the remotes.
- The opener chimes or beeps without running. LiftMaster openers use audible error feedback for diagnostic codes. A board that has failed partially can send false error signals about sensors or motor overheating when both components test fine independently.
BeforeAfterReplacement Cost & What’s Included
Installed LiftMaster opener logic board replacement in Thornton runs $120-$320. The spread comes down to board version and opener age. Older Professional-series boards on the lower end, Security+ 2.0 boards and WiFi-enabled models like the 8500W on the higher end. The price you get in writing before any work starts includes the board itself, removal of the failed component, installation, testing of remotes, wall console, and safety sensors, and the documented photo record of the failed board and the new one installed.
Here’s how the range breaks down:
- Logic board for LiftMaster Professional series (pre-2011): $120-$180 installed
- Logic board for Security+ 2.0 openers (2011-2019): $180-$260 installed
- Logic board for WiFi-enabled openers and side-mount 8500W: $240-$320 installed
The price is flat and written before the technician touches the opener. If the scope changes, it changes on paper first, not on the invoice after the fact. That’s Clause 1 of The Haven Standard, and it’s the reason we don’t say “call for a quote.” The quote is the job.
DIY or Call Us?
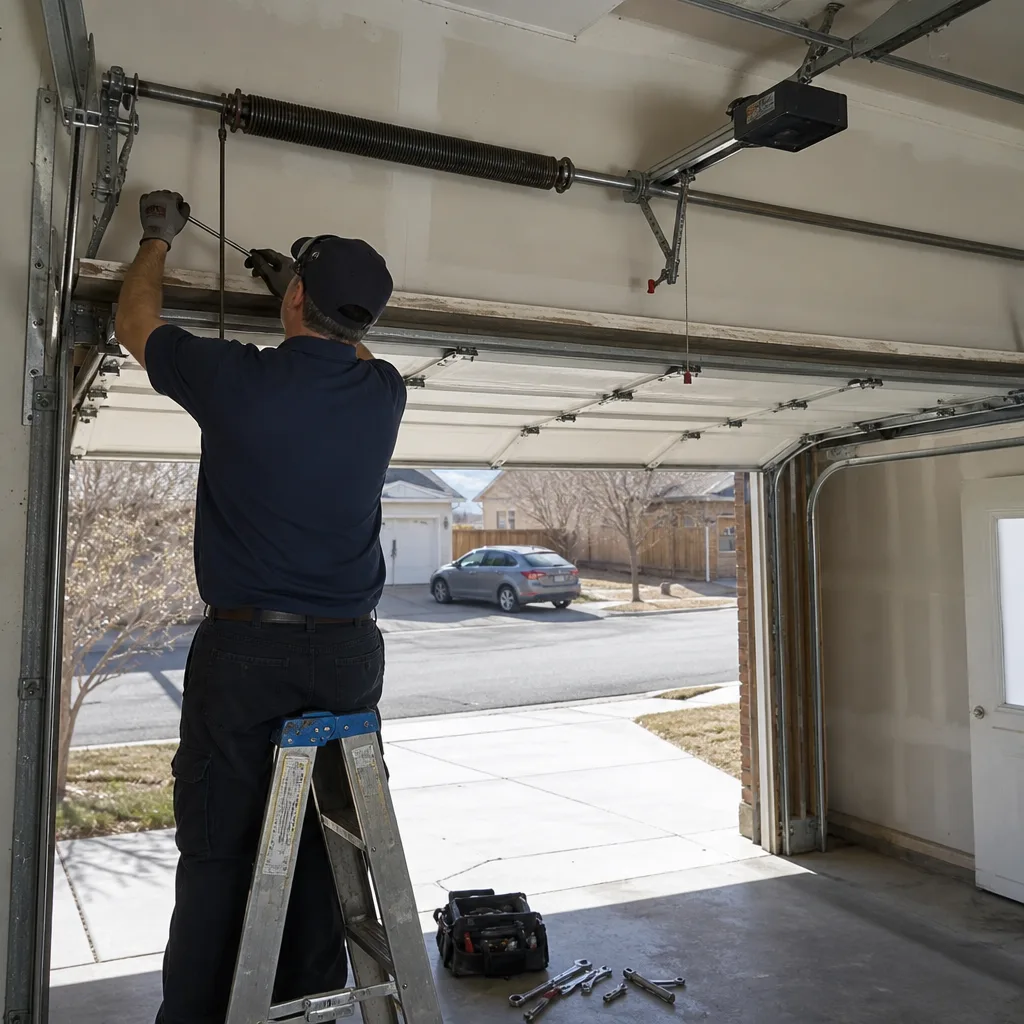
Here’s the straight answer: opening the housing on a LiftMaster opener means working inside an appliance that’s plugged into line voltage. The logic board itself runs on low voltage, but the terminals feeding it do not, and a live capacitor on an older Professional-series board can hold a charge long after the unit is unplugged. This isn’t a fear pitch. It’s why the trade exists.
What an owner can safely check before calling: confirm the wall button works while remotes don’t, swap fresh batteries into one remote to rule out the obvious, and look at the opener model label so you can tell us what’s mounted above the door before we dispatch. That last one saves a second trip. What we’d rather an owner not do: open the housing, meter the board looking for a faulty capacitor, or try a board they found online that “looks identical.” We’ve replaced boards after self-installs went wrong, and the repair costs more when a shorted board takes out the transformer with it. Call (720) 575-1024 and we’ll confirm the model, quote the board, and be out with it on the truck.
FAQs
A LiftMaster logic board in a Thornton garage typically lasts 8 to 14 years. Uninsulated garages in this climate swing from sub-zero winter nights to 100°F-plus summer afternoons, and that thermal cycling is what eventually cracks solder joints and degrades capacitors. Opener motors can run for 20 years; the boards usually go first.
The board can sometimes be repaired at the component level, meaning a single failed capacitor or relay is replaced on the board rather than swapping the whole unit. In practice, we rarely recommend it for LiftMaster openers. The labor to diagnose, repair, and re-test a board at the component level often approaches the cost of a new OEM board, and the repair doesn’t carry the same warranty. If the board is for an opener under three years old, a repair may be worth it. Older than that, replacement wins. Call (720) 575-1024 and we’ll tell you which way to go based on your model.
A LiftMaster logic board replacement takes about 45 to 60 minutes start to finish. That includes opening the motor housing, removing the old board, installing the new one, and then testing remotes, wall console, safety sensors, and the door’s full travel cycle. If programming the remotes and setting travel limits is needed because of board version differences, add 15 minutes. The written quote reflects the real time, and the photo record shows the old board and the new one side by side.
Yes. We stock logic boards on the truck for the most common LiftMaster Professional and Security+ 2.0 models found on Thornton garage doors. If your opener is a newer WiFi model or a side-mount 8500-series, we confirm the exact board number before dispatch and bring it with us. You’ll know the part number and the price before we pull into the driveway. Name the part, quote the price, then do the work – in that order.
If your LiftMaster opener has stopped listening to the remotes or started clicking without moving, call (720) 575-1024. We’ll identify the board by model number, quote the installed price in writing, and have the replacement on the truck when we arrive. Servo Garage Doors Thornton is an independent service provider, not affiliated with LiftMaster, and we also stock opener parts for Chamberlain and Genie.
Written by Marcus Deller, Owner & Lead Technician, Servo Garage Doors Thornton at Servo Garage Doors Thornton, serving Thornton and nearby areas.